Rosh Hashanah is on its way (less than two weeks now!) and I’m getting myself into a routine now that the move is (kinda) done.
The move? I haven’t posted about it, but we moved again – new country, continent, hemisphere even. In fact, what I always think of as the fall holidays (e.g. Rosh Hashanah, Yom Kippur, and Sukkot) are going to be the … spring holidays here? It sounds so strange, but I’ll get my mind around it. Probably just in time to leave – but that’s years away.
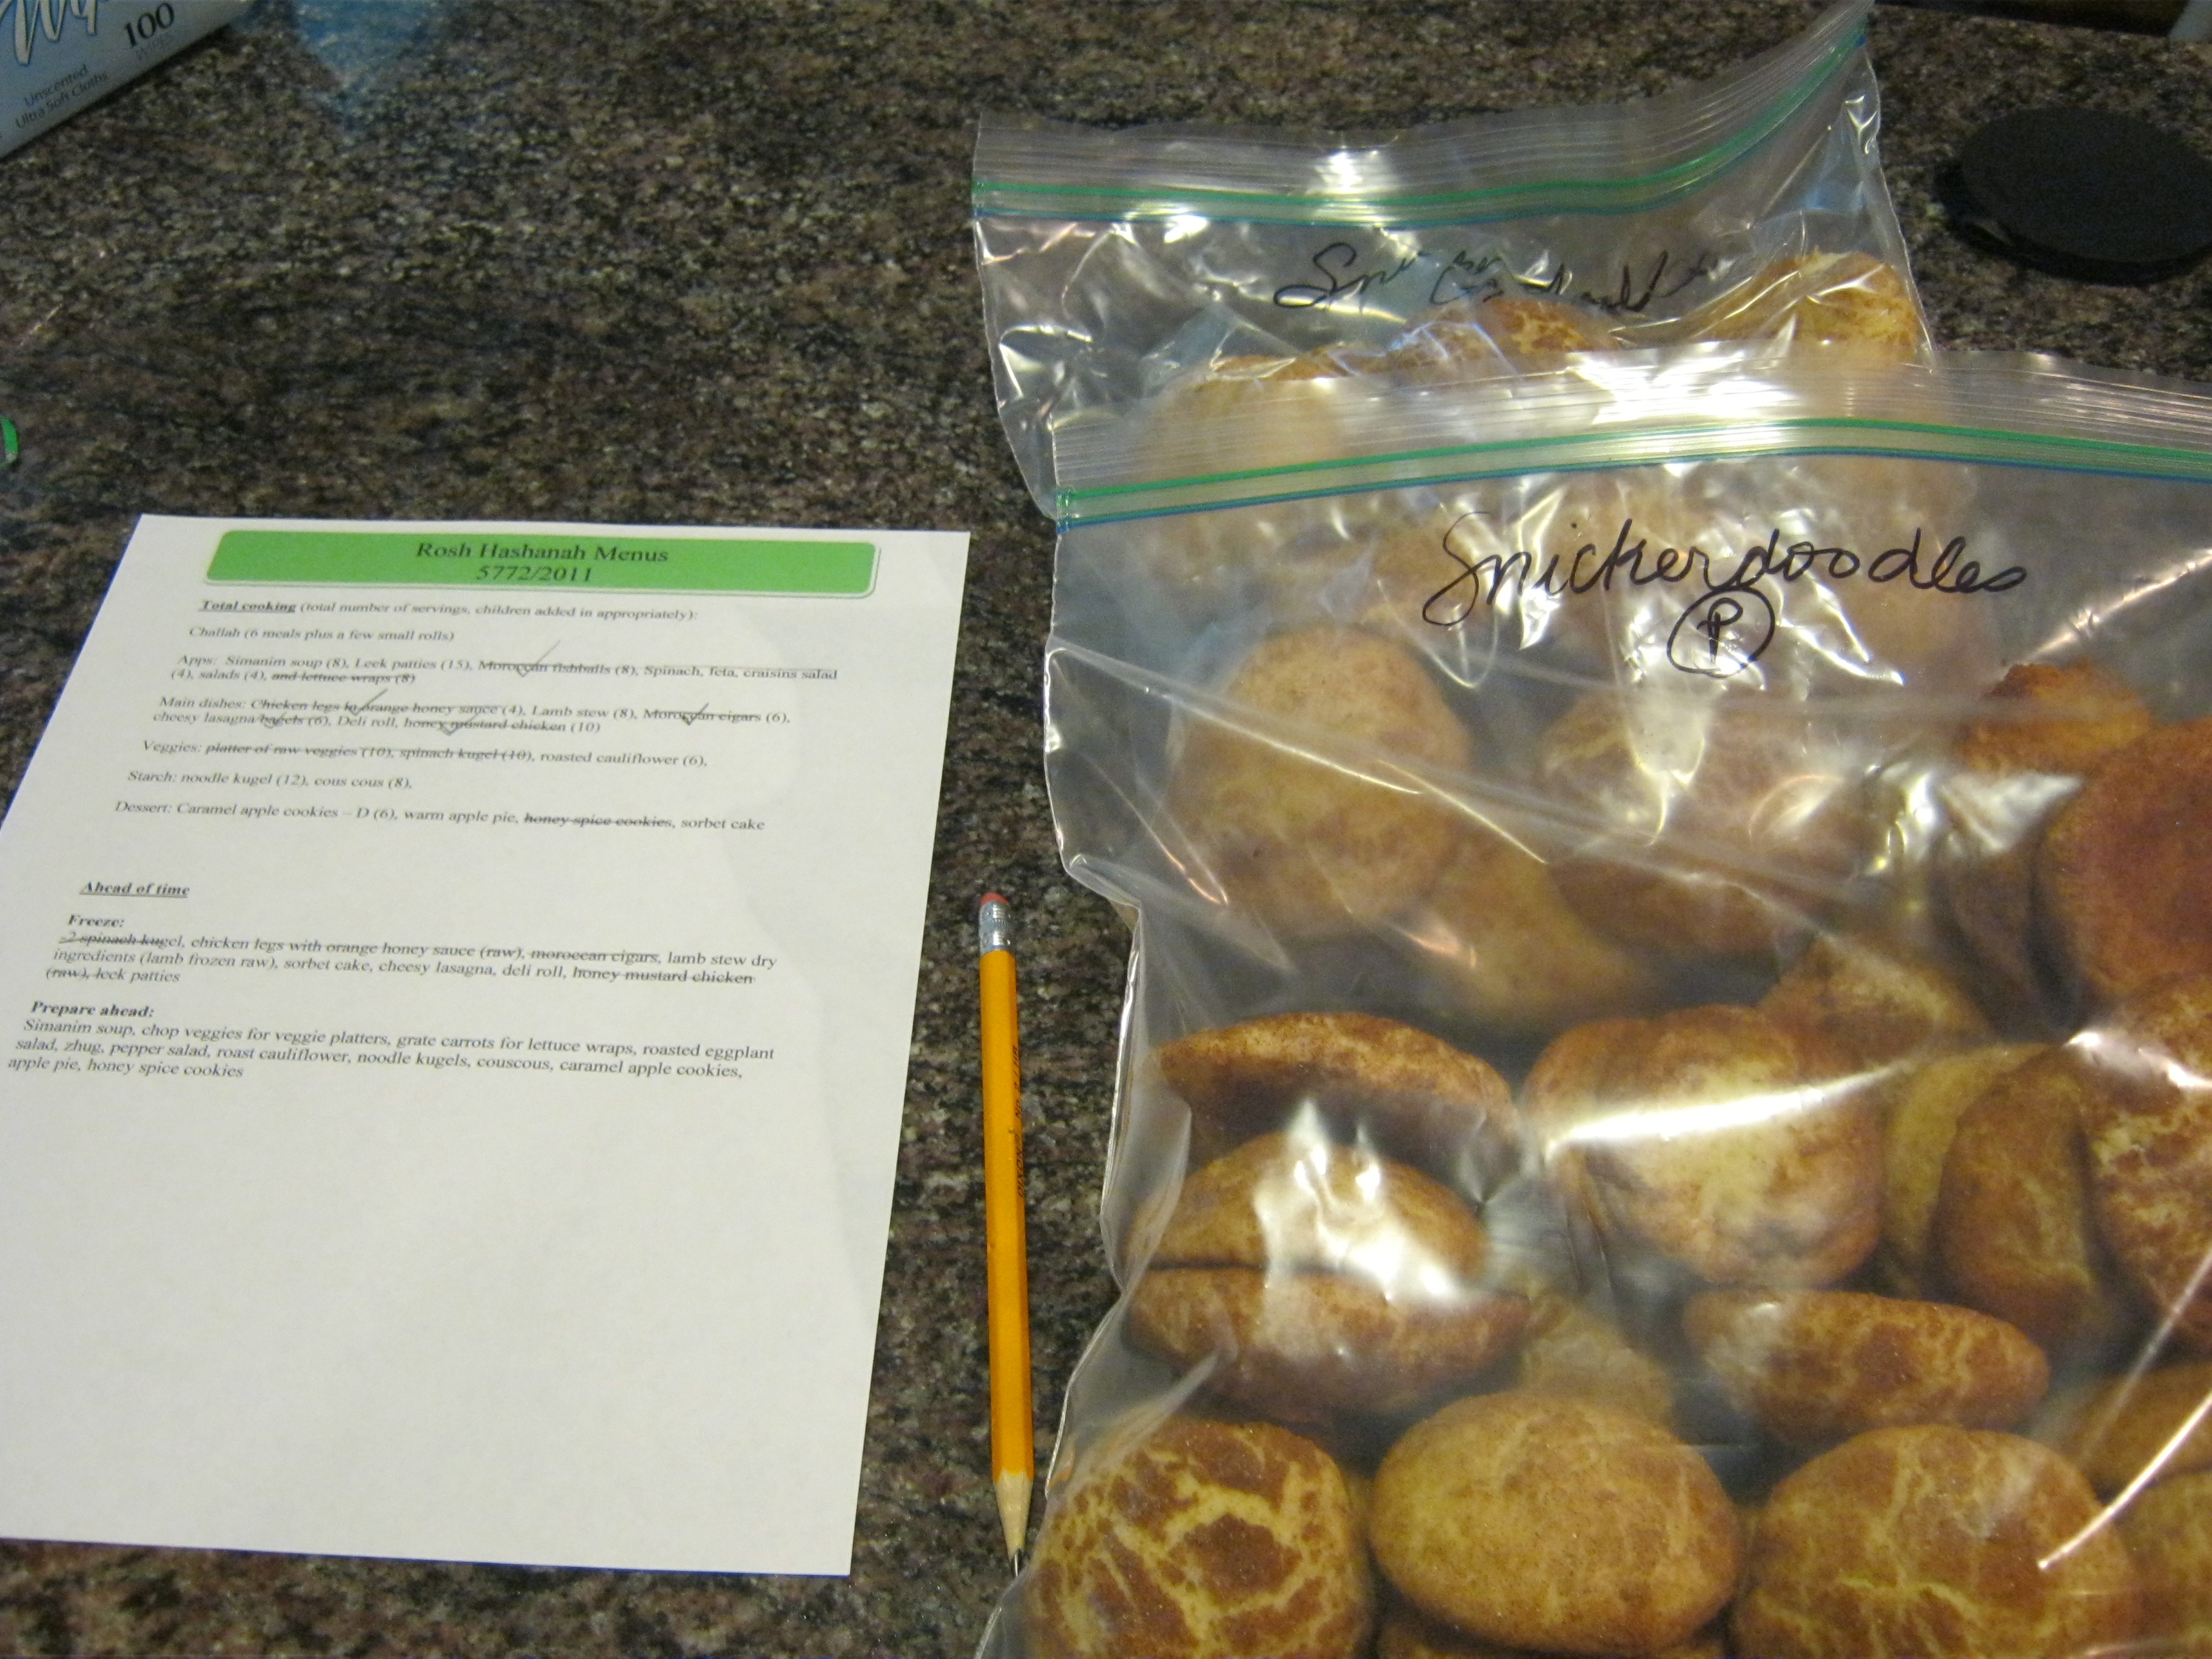
So now, for Rosh Hashanah, I usually post a menu (see 2020, 2018, etc.) and some kid stuff (marshmallow bees, mitzvah checklist), as well as lots of prep and planning posts.
This year, I’m living in a temporary house with only what we brought in our suitcases (for now), so a lot of the fancy things I like to do will be hard and I don’t have access to all the foods I usually use. I will be planning it out, but not yet. I need to find my way around!
In the meantime, we’re finding a routine, and I ordered a new planner I wanted to share with you – new year, new planner!
First, what I’ve used in the past (aside from the generic planners from Target): Mom Agenda and The Balabusta’s Daily Organizer (see my reviews here and here, even though the photos no longer seem to show up). I’ve also tried a bullet journal (check out #Bujo on any social media to see some gorgeous spreads!) and blank, undated pages. All had some good stuff, but I have been looking for something that fits me better.
Currently, I’m using Define My Day planners. It’s fairly basic (check it out!), but I love the 3 priority system and the bit of journaling built in. Each book is 4 weeks, and they are undated, so you can start whenever. There are some really good things about this planner that I moved into…
…
My new Agendio planner! It’s a completely customizable planner. I went with weekly spreads and 6 months to see how that goes. It means the planner itself will not be so big, and I got to take the parts of other planners that I liked and cobble them into something that works for me. Here’s a preview of the weekly spread I made:
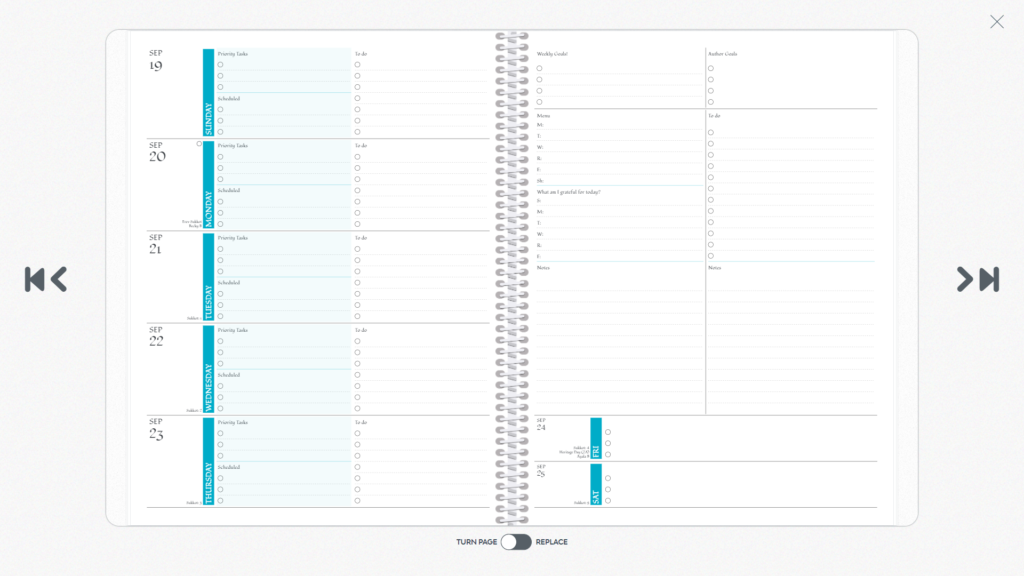
After that each week, I have a weekly outline, habit tracker, checklists, menu planner, etc. This means that the way I set it up, I have no monthly pages (that I do on a wall calendar and my phone) or daily pages (although each day has a top three, scheduled items, and other to dos). A whole page was too much for each day for me. Of course, there are templates for each of those things, so you could include whatever you want in your planner, make it a different size, play with color and designs, have a longer run, etc…
The down sides are that there are a LOT of options. It can be overwhelming. I actually couldn’t think of what to put into that second notes section, so we’ll see what I end up using it for. Another down side (but you’ll get this on any non-Jewish planner) is that, while you can reuse dates and events each year once you’ve entered them, that doesn’t work for Jewish dates. However, this one had an option for Jewish holidays, AND it included erev holidays on the right days! There’s no help for putting in the weekly parsha, but at least the holidays are there.
I haven’t gotten the actual printed version yet, but will take photos when I do. We’ll see how it ends up working out! I’m guessing I will want to changes some things, but I’m really excited to get it and start using it.
Anyone else switching planners? Or do you have a good recommendation?